IoT Projects & Protocolsintermediateproject build
Build an IoT Weather Station with ESP32, BME280 & OLED Display (Complete Guide)
Build an IoT weather station with an ESP32, BME280 sensor and OLED display: wiring, code, ThingSpeak upload and a web dashboard.
By ADIY10 min read
Technical review pending. Figures marked “verify” or “check your part” have not been confirmed against your exact hardware revision. Check the manufacturer datasheet before relying on them in a design.
Are you tired of relying on generic weather apps that report conditions miles away from your home? Building your own IoT weather station is one of the most rewarding electronics projects. With an ESP32 microcontroller, you can measure hyperlocal temperature, humidity, and barometric pressure, view it on an OLED display, and transmit the data to a web dashboard over WiFi.
In this comprehensive DIY guide, we'll walk you through creating a feature-rich ESP32 weather project using the highly accurate Bosch BME280 sensor. Whether you're a hobbyist or an engineering student working on a Make in India project, this tutorial covers everything from I2C wiring to writing Arduino code for local web servers and ThingSpeak integration.
1. Introduction — Why Build Your Own Weather Station?#
Commercial weather stations can be expensive and often lock your data into proprietary cloud ecosystems. By building an open-source IoT weather station with ESP32, you gain:
- Hyperlocal Accuracy: Know the exact temperature and humidity on your balcony or garden, not at an airport 20 kilometers away.
- Data Ownership: Log data locally, send it to ThingSpeak, or push it via MQTT to your Home Assistant server.
- Cost-Effective: You can source quality components in India for under ₹1000.
- Expandability: Easily add soil moisture sensors, rain gauges, or UV sensors later.
2. Components Needed#
To build this weather station, you'll need the following standard electronics components. Most of these are available directly on the ADIY store.
| Component | Description / Purpose |
|---|---|
| ESP32 Development Board | The brain of the project. Has built-in WiFi and Bluetooth, plenty of GPIO pins, and hardware I2C. |
| BME280 Sensor Breakout | Measures Temperature, Humidity, and Barometric Pressure. Highly accurate Bosch sensor. |
| 0.96" SSD1306 OLED Display | I2C display (128x64 pixels) to show local weather parameters. |
| Jumper Wires | Female-to-Female or Male-to-Female (depending on your breadboard setup) for I2C connections. |
| Micro-USB / Type-C Cable | For programming the ESP32 and providing power (5V). |
3. BME280 vs BMP280 vs DHT22 — Which Sensor?#
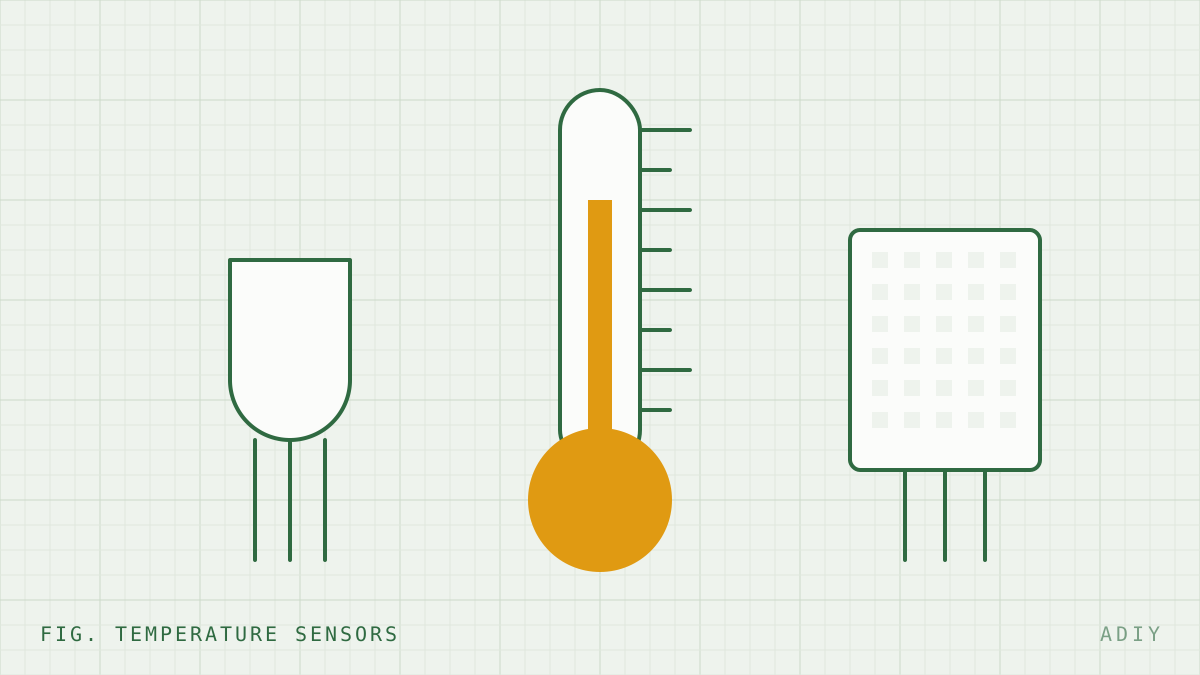
When searching for a weather sensor, you'll often encounter the DHT22, BMP280, and BME280. Why did we choose the BME280 for this project? Let's compare:
| Feature | BME280 (Winner) | BMP280 | DHT22 |
|---|---|---|---|
| Temperature | Yes (-40 to 85°C, ±1.0°C) | Yes (-40 to 85°C, ±1.0°C) | Yes (-40 to 80°C, ±0.5°C) |
| Humidity | Yes (0-100%, ±3%) | No | Yes (0-100%, ±2-5%) |
| Pressure | Yes (300-1100 hPa) | Yes (300-1100 hPa) | No |
| Altitude Estimation | Yes | Yes | No |
| Interface | I2C / SPI | I2C / SPI | 1-Wire (Proprietary) |
The BME280 is the undisputed champion for weather stations because it combines three sensors (Temp, Humidity, Pressure) into one tiny footprint, communicating over a standard I2C bus.
4. BME280 Pin Description#
A typical BME280 breakout board comes with 4 to 6 pins. If you are using the I2C interface, you only need 4 pins. Here is what they do:
- VCC / VIN: Power supply (3.3V recommended for ESP32).
- GND: Ground connection.
- SCL: Serial Clock pin for I2C communication.
- SDA: Serial Data pin for I2C communication.
- CSB / SDO: Used for SPI mode or changing the I2C address (usually ignored for standard I2C).
5. Wiring: ESP32 + BME280 + OLED#
Because the ESP32 supports I2C, and both our BME280 and OLED display are I2C devices, we can connect them to the same I2C bus (in parallel) as long as they have different I2C addresses (which they do!).
| ESP32 Pin | BME280 Pin | OLED Pin |
|---|---|---|
| 3.3V | VCC / VIN | VCC |
| GND | GND | GND |
| GPIO 22 (SCL) | SCL | SCL |
| GPIO 21 (SDA) | SDA | SDA |
6. Installing Libraries in Arduino IDE#
Before writing the code, ensure your Arduino IDE is configured for the ESP32 board. If you haven't done this, check our guide on ESP32 WiFi IoT Projects for Beginners.
Navigate to Sketch > Include Library > Manage Libraries and install the following:
- Adafruit BME280 Library by Adafruit
- Adafruit Unified Sensor by Adafruit
- Adafruit SSD1306 by Adafruit
- Adafruit GFX Library by Adafruit
7. Code 1: Read & Serial Print Data#
Let's start by testing the BME280 sensor and printing the values to the Serial Monitor.
#include <Wire.h>
#include <Adafruit_Sensor.h>
#include <Adafruit_BME280.h>
#define SEALEVELPRESSURE_HPA (1013.25)
Adafruit_BME280 bme; // I2C
void setup() {
  Serial.begin(115200);

  bool status = bme.begin(0x76);
  if (!status) {
    Serial.println("Could not find a valid BME280 sensor, check wiring, address!");
    while (1);
  }
  Serial.println("BME280 test successful.");
}
void loop() {
  Serial.print("Temperature = ");
  Serial.print(bme.readTemperature());
  Serial.println(" *C");
  Serial.print("Humidity = ");
  Serial.print(bme.readHumidity());
  Serial.println(" %");
  Serial.print("Pressure = ");
  Serial.print(bme.readPressure() / 100.0F);
  Serial.println(" hPa");
  Serial.print("Approx. Altitude = ");
  Serial.print(bme.readAltitude(SEALEVELPRESSURE_HPA));
  Serial.println(" m");
  Serial.println();
  delay(2000);
}
8. Code 2: Display Data on OLED#
Next, let's take those readings and display them neatly on our 0.96" OLED screen.
#include <Wire.h>
#include <Adafruit_Sensor.h>
#include <Adafruit_BME280.h>
#include <Adafruit_GFX.h>
#include <Adafruit_SSD1306.h>
#define SCREEN_WIDTH 128
#define SCREEN_HEIGHT 64
Adafruit_SSD1306 display(SCREEN_WIDTH, SCREEN_HEIGHT, &Wire, -1);
Adafruit_BME280 bme;
void setup() {
  Serial.begin(115200);

  if(!display.begin(SSD1306_SWITCHCAPVCC, 0x3C)) {
    Serial.println(F("SSD1306 allocation failed"));
    for(;;);
  }

  if (!bme.begin(0x76)) {
    Serial.println("Could not find a valid BME280 sensor!");
    while (1);
  }

  display.clearDisplay();
  display.setTextColor(WHITE);
}
void loop() {
  display.clearDisplay();

  float temp = bme.readTemperature();
  float hum = bme.readHumidity();
  float pres = bme.readPressure() / 100.0F;
  // Header
  display.setTextSize(1);
  display.setCursor(20, 0);
  display.print("ADIY WEATHER");
  display.drawLine(0, 10, 128, 10, WHITE);
  // Temperature
  display.setTextSize(2);
  display.setCursor(0, 15);
  display.print(temp, 1);
  display.print("C");
  // Humidity
  display.setCursor(64, 15);
  display.print(hum, 0);
  display.print("%");
  // Pressure
  display.setTextSize(1);
  display.setCursor(0, 45);
  display.print("Press: ");
  display.print(pres);
  display.print(" hPa");
  display.display();
  delay(2000);
}
9. Code 3: Upload to ThingSpeak Cloud#
To make it a true IoT project, let's push this data to the internet. ThingSpeak is a great free platform for IoT data logging.
- Create an account at ThingSpeak.
- Create a New Channel with 3 Fields (Field1: Temp, Field2: Humidity, Field3: Pressure).
- Copy your Write API Key.
You will need to install the ThingSpeak library by MathWorks via the Library Manager.
#include <WiFi.h>
#include <ThingSpeak.h>
#include <Wire.h>
#include <Adafruit_Sensor.h>
#include <Adafruit_BME280.h>
const char* ssid = "YOUR_WIFI_SSID";
const char* password = "YOUR_WIFI_PASSWORD";
unsigned long myChannelNumber = YOUR_CHANNEL_NUMBER;
const char * myWriteAPIKey = "YOUR_WRITE_API_KEY";
WiFiClient  client;
Adafruit_BME280 bme;
void setup() {
  Serial.begin(115200);
  bme.begin(0x76);

  WiFi.begin(ssid, password);
  while (WiFi.status() != WL_CONNECTED) {
    delay(500);
    Serial.print(".");
  }
  Serial.println("\nWiFi connected.");
  ThingSpeak.begin(client);
}
void loop() {
  float t = bme.readTemperature();
  float h = bme.readHumidity();
  float p = bme.readPressure() / 100.0F;
  ThingSpeak.setField(1, t);
  ThingSpeak.setField(2, h);
  ThingSpeak.setField(3, p);

  int x = ThingSpeak.writeFields(myChannelNumber, myWriteAPIKey);
  if(x == 200){
    Serial.println("Channel update successful.");
  }

  // ThingSpeak requires 15 seconds between updates
  delay(20000);
}10. Code 4: Local Web Dashboard#
If you don't want to use an external cloud service, you can host a webpage directly on the ESP32. We will use the WebServer library built into the ESP32 core.
#include <WiFi.h>
#include <WebServer.h>
#include <Wire.h>
#include <Adafruit_Sensor.h>
#include <Adafruit_BME280.h>
const char* ssid = "YOUR_WIFI_SSID";
const char* password = "YOUR_WIFI_PASSWORD";
WebServer server(80);
Adafruit_BME280 bme;
void handleRoot() {
  float t = bme.readTemperature();
  float h = bme.readHumidity();
  float p = bme.readPressure() / 100.0F;

  String html = "<html><head><meta http-equiv='refresh' content='5'>";
  html += "<style>body{font-family: Arial; text-align: center; margin-top: 50px; background-color: #F0FAF4; color: #2F6A41;}";
  html += ".card{background: white; padding: 20px; border-radius: 10px; display: inline-block; box-shadow: 0 4px 8px rgba(0,0,0,0.1);}</style></head>";
  html += "<body><h1>ADIY ESP32 Weather Station</h1>";
  html += "<div class='card'>";
  html += "<h2>Temperature: " + String(t) + " °C</h2>";
  html += "<h2>Humidity: " + String(h) + " %</h2>";
  html += "<h2>Pressure: " + String(p) + " hPa</h2>";
  html += "</div></body></html>";

  server.send(200, "text/html", html);
}
void setup() {
  Serial.begin(115200);
  bme.begin(0x76);

  WiFi.begin(ssid, password);
  while (WiFi.status() != WL_CONNECTED) {
    delay(500);
  }
  Serial.println(WiFi.localIP()); // Type this IP in your browser!

  server.on("/", handleRoot);
  server.begin();
}
void loop() {
  server.handleClient();
}
Upload the code, open your Serial Monitor, find the assigned IP address, and type it into your mobile or PC browser. You will see a green ADIY-themed live dashboard!
11. Enclosure and Weatherproofing Tips#
If you plan to place your weather station outdoors in India, especially during the monsoon season, you must protect the electronics. However, the BME280 needs access to ambient air to measure accurately.
- Stevenson Screen: Use a 3D-printed Stevenson screen. It consists of stacked louvers that allow air to flow while protecting the sensor from direct sunlight and rain.
- Conformal Coating: Coat the ESP32 and OLED boards with conformal coating or clear nail polish to prevent corrosion, but DO NOT coat the small metal square on the BME280 sensor—it will block the sensing hole!
- Power: Run a long USB cable indoors, or use a small solar panel + TP4056 + 18650 lithium battery setup for a truly wireless unit.
12. Altitude Calculation Explained#
You may notice the BME280 code has an altitude calculation. The sensor doesn't measure altitude directly; it calculates it based on barometric pressure.
Atmospheric pressure decreases as altitude increases. By comparing the local pressure to the standard sea-level pressure (usually 1013.25 hPa), the sensor utilizes the hypsometric formula to guess your altitude.
13. Troubleshooting Common Issues#
1. "Could not find a valid BME280 sensor" error
This usually means the I2C address is wrong. While most modules use 0x76, some use 0x77. Change bme.begin(0x76) to bme.begin(0x77) in your code. Also, double-check that SDA and SCL aren't swapped.
2. Readings showing "nan" (Not a Number)
Check your jumper wires. A loose VCC or GND wire can cause the sensor to reboot intermittently.
3. OLED Display is blank
Verify the OLED address. Most are 0x3C, but some are 0x3D. Run an I2C Scanner sketch to verify the addresses of all connected devices on the bus.
14. Frequently Asked Questions (FAQ)#
Can I use an ESP8266 (NodeMCU) instead of an ESP32?
Yes, absolutely. The wiring concept is identical, though the I2C pins will be different (usually D1 for SCL and D2 for SDA on NodeMCU). The code logic remains exactly the same.
Why is the temperature reading slightly higher than ambient?
If the BME280 is placed too close to the ESP32 in an enclosed box, the heat generated by the ESP32's WiFi chip can artificially raise the temperature reading. Try to keep the sensor outside the main enclosure or add ventilation.
How can I power this weather station via battery?
You can use a 3.7V Li-ion battery (like an 18650) connected to the ESP32's 3.3V pin (if you use a low-dropout regulator) or via a power bank connected to the USB port. Implement "Deep Sleep" mode in your ESP32 code to make the battery last for months.
Where can I buy authentic BME280 sensors in India?
You can purchase authentic, high-quality BME280 breakout boards and ESP32 development boards directly from the ADIY Store, manufactured and tested under the Make in India initiative.
Share